
Reading Time: 6 mins.
Table of Contents:
- Introduction
- Working with Docker images
- Working with Docker yaml file
- Data persistence and networking
- Running Docker yaml file using Docker-Compose
- Checking Docker container status
- Accessing Docker container shell
- Adding domain to etc hosts
- Installing Magento
Introduction
There are quite a number of ways and technologies to install Magento on an Ubuntu system. Nevertheless, the installation of Magento demands some of the common technologies such as web server, database server, PHP along with necessary extensions and so forth. Among the masses of Magento installation guides and methodologies, which is the most ideal way to install Magento software and why. Without further ado, let us reveal the answer as Docker.
Why? If you use Docker, it allows you to install and manage packages and at the same time, allows you to run additional scripts after each update. And what makes it special? The reason is that you might have come across “uninstall scripts” in some of the Magento extensions and these scripts only if the extensions are managed with Composer.
Prerequisites:
- You need to have successfully installed Docker and Docker Compose, haven’t installed yet, go to How to Install Docker on Ubuntu 18.04
- Docker images such as webserver, MySQL, PHP along with their extensions and phpmyadmin.
Step 1: Working with Docker images
As a first step, we need to prepare the required Magento files and directories. Make sure you have Magento either with sample data or without sample data. We will use the following images.
- Apache
- PHP
- MySQL
- Phpmyadmin (optional)
Note: If you want you can also integrate Varnish image.
Step 2: Working with Docker yaml file
To integrate all the required images, we need to create the Docker yaml file. Make sure that you use the created directory as the yaml file needs to be placed on that respective folder.
To create the yaml file, type:
sudo touch docker-compose.yml
To open the newly created yaml file, type:
sudo nano docker-compose.yml
version: '3'
services:
 # Webserver with php
  web:
    image: fballiano/magento2-apache-php
    container_name: webserver
    depends_on:
      - docker-mysql
      - phpmyadmin
    links:
      - docker-mysql
      - phpmyadmin
    volumes:
      - ./magento-content:/var/www/html
      - ~/.composer/auth.json:/root/.composer/auth.json
    ports:
      - "8080:80"
 # Mysql setup
  docker-mysql:
    image: mysql:5.7
    container_name: docker-mysql-dev
    restart: always
    environment:
        - MYSQL_DATABASE=magento_demo
        - MYSQL_ROOT_PASSWORD=root123
        - MYSQL_USER=root
        - MYSQL_PASSWORD=root123
    ports:
        - "3306:3306"
    volumes:
        - /dbdata:/var/lib/mysql
 # Phpmyadmin setup
  phpmyadmin:
    image: phpmyadmin/phpmyadmin
    container_name: phpmyadmin
    ports:
      - "8081:80"
    environment:
        - PMA_HOST=docker-mysql-dev
        - PMA_USER=root
        - PMA_PASSWORD=root123
volumes:
  dbdata:
Depends_on: Express dependency between services. For example, here, we need to connect a web server with MySQL.
Links: It is used to link the containers to another service, and also expresses the dependency between services in the same way as depends_on.
Volumes: In case of persisting (save and sharing) data, i.e backing-up the database, Volumes are the preferred way which is commonly generated and used by the Docker containers.
Container_name: Used mainly for tagging an unique name for the container, it’s also easy to pass the name to other images.
Environment: It is in this section where we define all the necessary environment variables.
Note: Here we have used the same image for both Apache and PHP.It is to be remembered that during Magento installation, you need to use the same host that we defined in the yaml file. Make sure that you stick with the syntax as the yaml file is case sensitive.
Step 3: Data persistence and networking
i) Persistence
Docker comes with a number of flexible features that ensure that every other required task can be done within the Docker software itself. One such powerful offering is Docker Volumes where you can persist (save data) the database, config files, applications, etc. In simple words, Docker Volumes helps in back up and persistence beyond the container’s lifecycle.
In the docker-compose file, under the db service, define a volume called dbdata to persist the MySQL database:
Lets add dbdata at the end of our docker compose yaml file as shown below:
volumes:
  dbdata:
ii) Networking
The purpose of creating a custom network is to see whether all the images are organized and are connected on the same network. Creating such a custom network makes the interaction between other images easier.
To use and create a custom network, enter the following command.
Docker network create network_name
Docker network create backend
Post creating the custom network, make sure that you define the network in every image section of the yaml file as shown below.
Example
Networks:
 backend
In case, If you don’t want to create a custom network, you can leave the network section empty. A network will be automatically created using the default network driver. Here, we have used the default network driver.
Step 4: Running Docker yaml file using Docker-Compose
Soon after the yaml configuration, start running using either one of the following commands.
Docker-compose up -d
If you already have the required images, Docker directly runs it. If not, Docker automatically downloads the images from the Docker Hub using pull command.
Output
Creating network "testing_default" with the default driver
Creating volume "testing_dbdata" with default driver
Creating docker-mysql-dev ... done
Creating phpmyadmin       ... done
Creating webserver        ... done
Step 5: Checking Docker container status
To check the Docker container status, type:
docker ps -a
Output
CONTAINER ID        IMAGE                           COMMAND                  CREATED              STATUS              PORTS                           NAMES
b88e2192079f        fballiano/magento2-apache-php   "docker-php-entrypoi…"   About a minute ago   Up About a minute   80/tcp, 0.0.0.0:8080->8080/tcp      webserver
5a6d579e0e21        phpmyadmin/phpmyadmin           "/docker-entrypoint.…"   About a minute ago   Up About a minute   80/tcp, 0.0.0.0:8081->8081/tcp      phpmyadmin
c7499397b597        mysql:5.7                       "docker-entrypoint.s…"   About a minute ago   Up About a minute   0.0.0.0:3306->3306/tcp, 33060/tcp   docker-mysql-dev
Note: Make note of the concerned port numbers and container names as you will need it later for Docker container shell access.
Step 6: Accessing Docker container shell (Optional)
To access the web server, run the below command.
docker exec -it webserver bash
Output
root@b88e2192079f:~#
root@b88e2192079f:/var/www/html# ls
CHANGELOG.md     LICENSE.txt      app composer.json  fb_host_probe.txt index.php     package.json.sample  setup vendor
COPYING.txt     LICENSE_AFL.txt  auth.json.sample composer.lock  generated lib     phpserver update
Gruntfile.js.sample  SECURITY.md      bin dev       grunt-config.json.sample  nginx.conf.sample  pub var
To access MySQL server, run the below command.
docker exec -it docker-mysql-dev bash
Output
root@c7499397b597:/#
root@c7499397b597:/# mysql -u root -p
Entering password:
Welcome to the MySQL monitor.  Commands end with ; or \g.
Your MySQL connection id is 2
Server version: 5.7.30 MySQL Community Server (GPL)
Copyright (c) 2000, 2020, Oracle and/or its affiliates. All rights reserved.
Oracle is a registered trademark of Oracle Corporation and/or its
affiliates. Other names may be trademarks of their respective
owners.
Type 'help;' or '\h' for help. Type '\c' to clear the current input statement.
mysql>
mysql> show databases;
+--------------------+
| Database           |
+--------------------+
| information_schema |
|  magento_demo      |
| mysql              |
| performance_schema |
| sys                |
+--------------------+|
10 rows in set (0.00 sec)
Note:
- We have confirmed that both the Magento contents and database are created.
- If you want to download Magento during runtime, use Docker file for wget commands and define that Docker file in Docker Compose yaml file.
Step 7: Adding domain to etc hosts
Open the etc host file using the command below andmake sure that you use either localhost url or the container ip address.
To view the individual container’s ip address, type:
docker inspect --format='{{range .NetworkSettings.Networks}}{{.IPAddress}}{{end}}' 0861188a6c87(container id)
After getting the container ip address, add the ip address as shown below (here we go with the localhost url for Magento installation).
sudo nano /etc/hosts
127.0.0.1 docker-demo.com  ## localhost uri
172.17.0.1 docker-demo.com  ##container ip address
Step 8: Installing Magento
Magento can be installed via two ways;
- Web Installation
- CLI Installation
Here, we will install Magento using the web. Open the browser, and hit either the localhost ip address which you added in the etc hosts.
Navigate to browser and hit localhost:8080
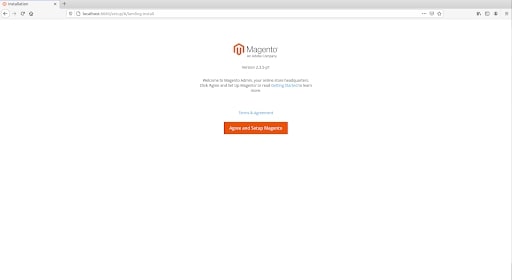
Start installing Magento
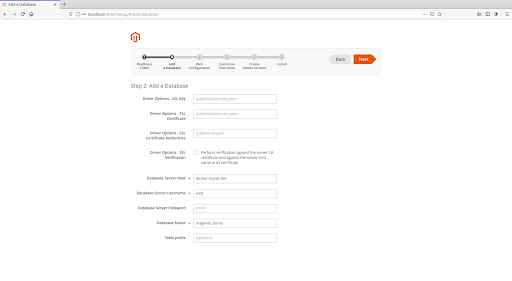
Readiness check

Adding database

Note: Confirm that you have entered the database server host as the MySQL container name of the MySQL image. For reference, here in the docker yaml file, we have used the docker host as docker-mysql-dev.
Web configuration
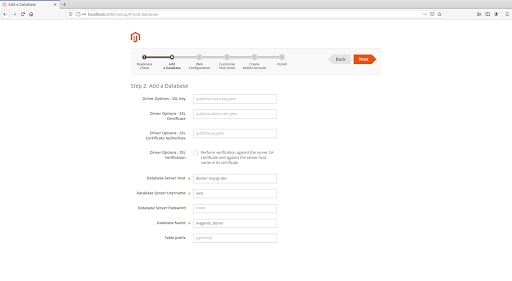
If you have an SSL certificate, change as HTTPS or else stick with HTTP. If you want to use the custom admin name instead of the default one, change the Magento admin address.
Customizing the store
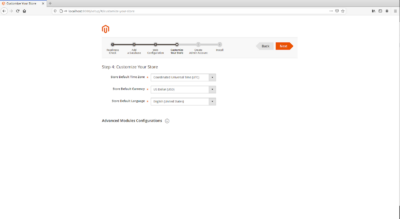
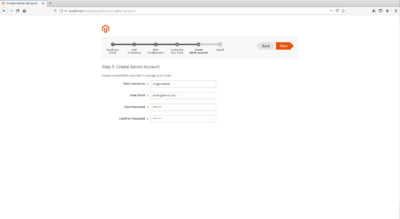
Creating the admin account
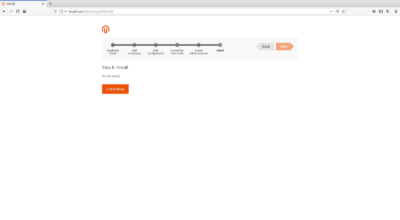
Install now
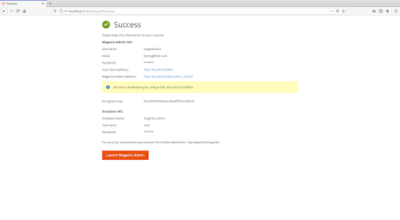
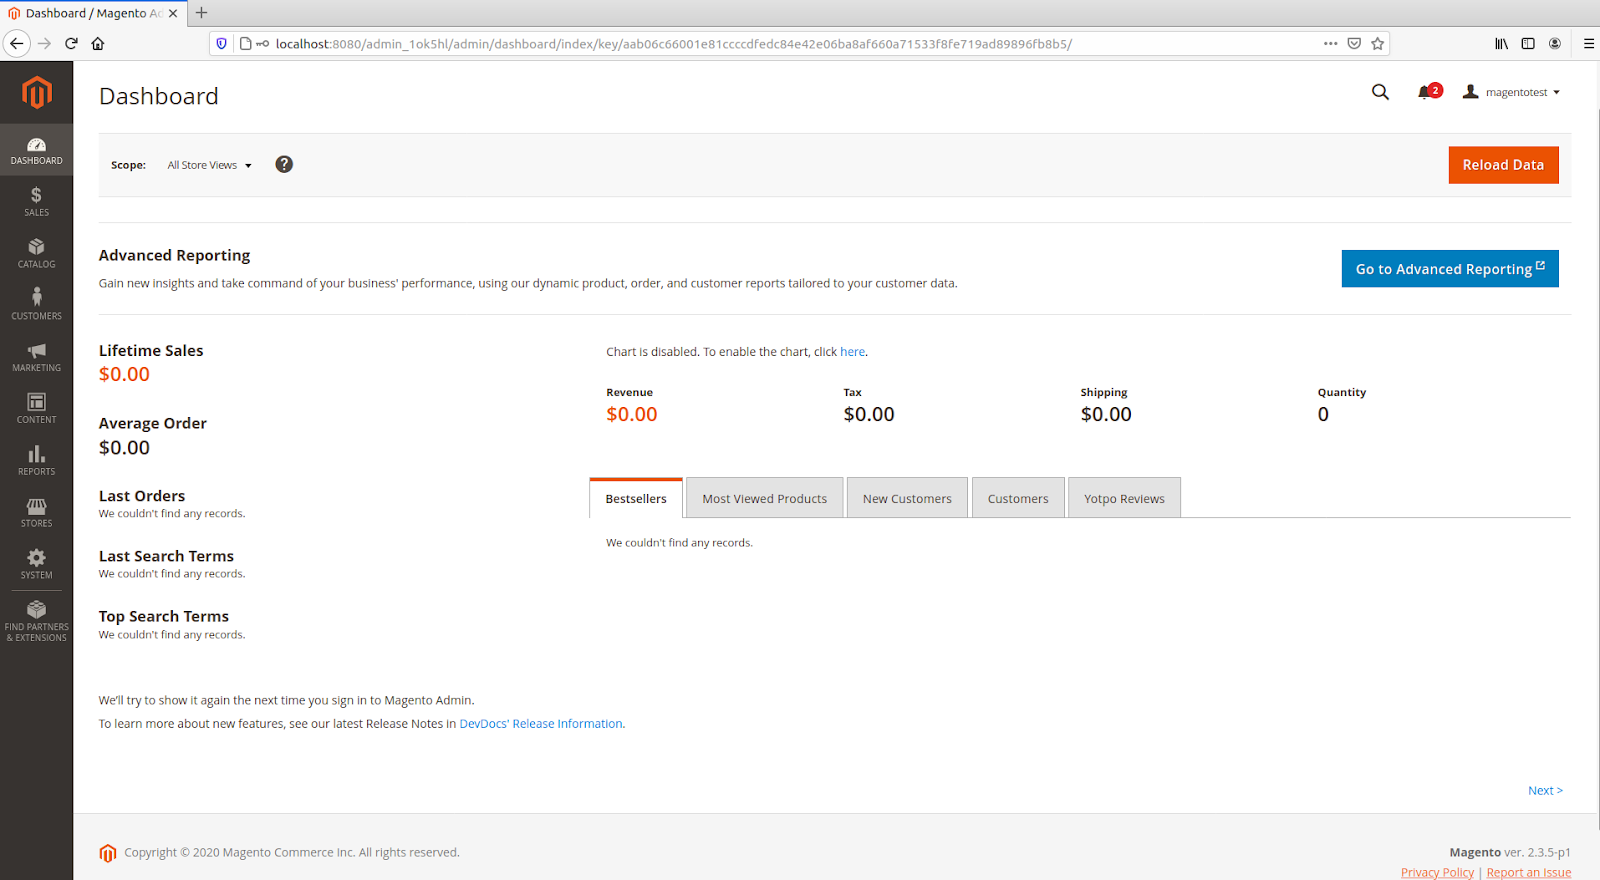
Note: Make sure to note down the above credentials. Let’s access the Magento home page and Magento backend.
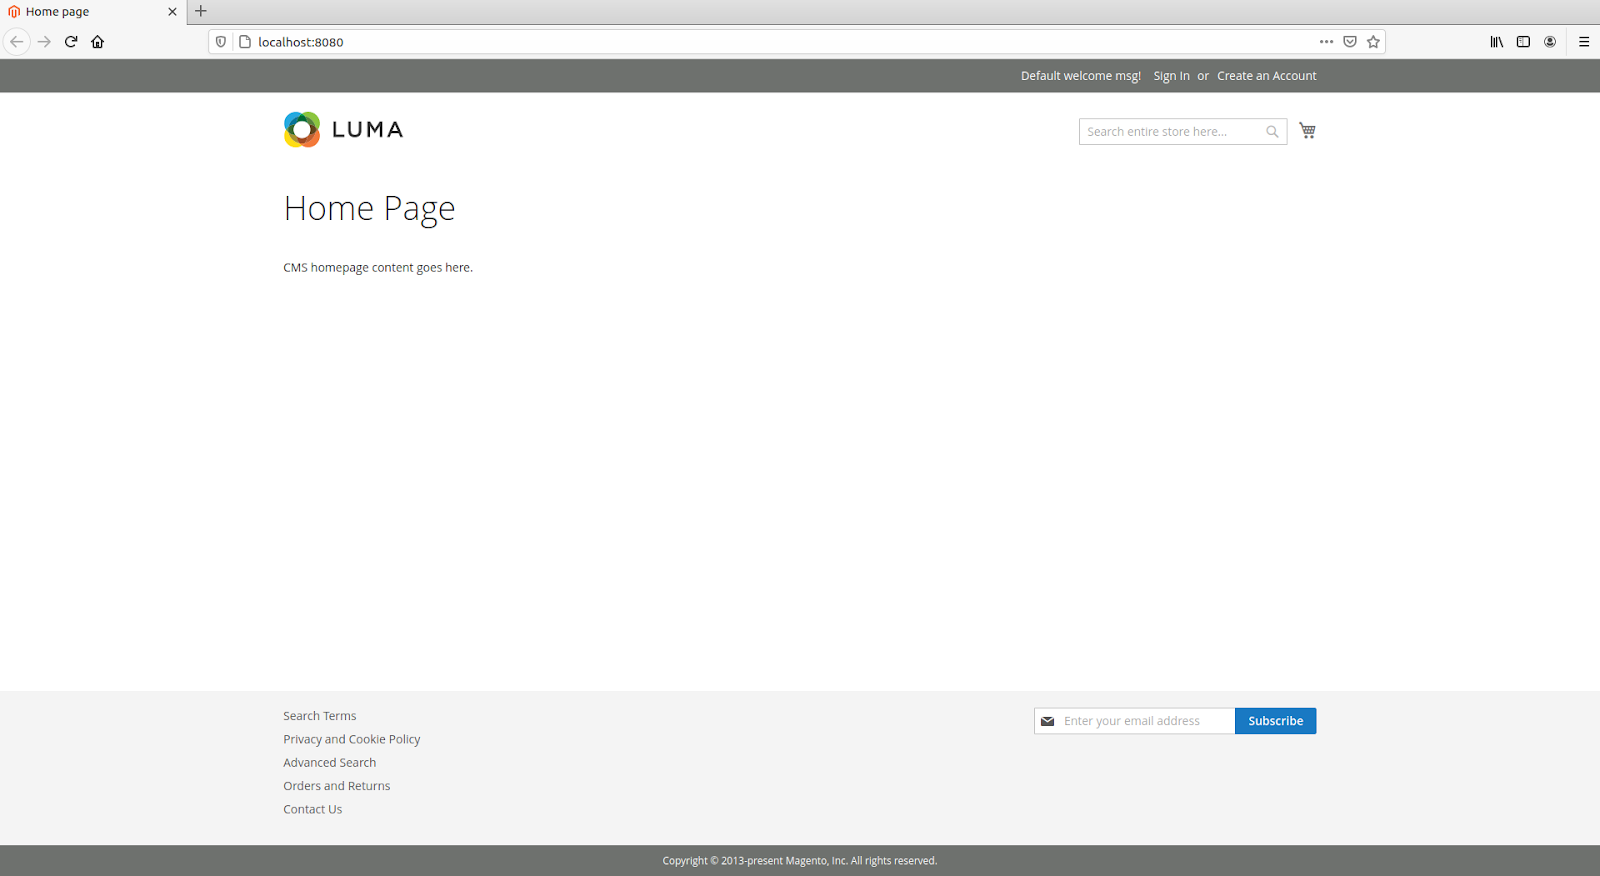
Default welcome page
Launching Magento admin
Varnish integration
Usually Varnish is not recommended for development environments. If needed, you can integrate the Varnish image in the docker yaml file.
Conclusion
As a quick glimpse, we started off prepping up with the necessary prerequisites for the installation of Magento using Docker. With the required config. Files and directories in hand, we proceeded to integrate the images using the Docker yaml file. Post the configuration of the yaml file, we worked with running the Docker container using one of the Docker-compose commands and eventually confirmed the status and shell access to the Docker container. Soon after adding the domain to etc hosts, we’ve successfully installed Magento via Web and you can also use the CLI (Command Line Interface) to install Magento. Further, we’ve also gone through some of the Docker terminologies and features which contributes to the installation process.