Creating a simple static website doesn’t have to be complicated or costly. With Amazon Web Services (AWS), you can use Amazon S3 and CloudFront to easily host your website. Whether it’s a personal blog, portfolio, or a basic site, this guide will walk you through the simple steps to set it up. No technical expertise required – let’s get started on building your online presence!
Introduction:
Creating a simple static website doesn’t have to be complicated or costly. With Amazon Web Services (AWS), you can use Amazon S3 and CloudFront to easily host your website. Whether it’s a personal blog, portfolio, or a basic site, this guide will walk you through the simple steps to set it up. No technical expertise required – let’s get started on building your online presence!
Prerequisites:
Before we dive into the setup, make sure you have the following prerequisites in place:
- An AWS Account: You’ll need an AWS account to access S3 and CloudFront services.
- A Domain Name: While not mandatory, having a domain name ready makes it easier to map your website to a custom domain.
Now, let’s get started with the steps to set up your static website:
Step 1: Create an S3 Bucket
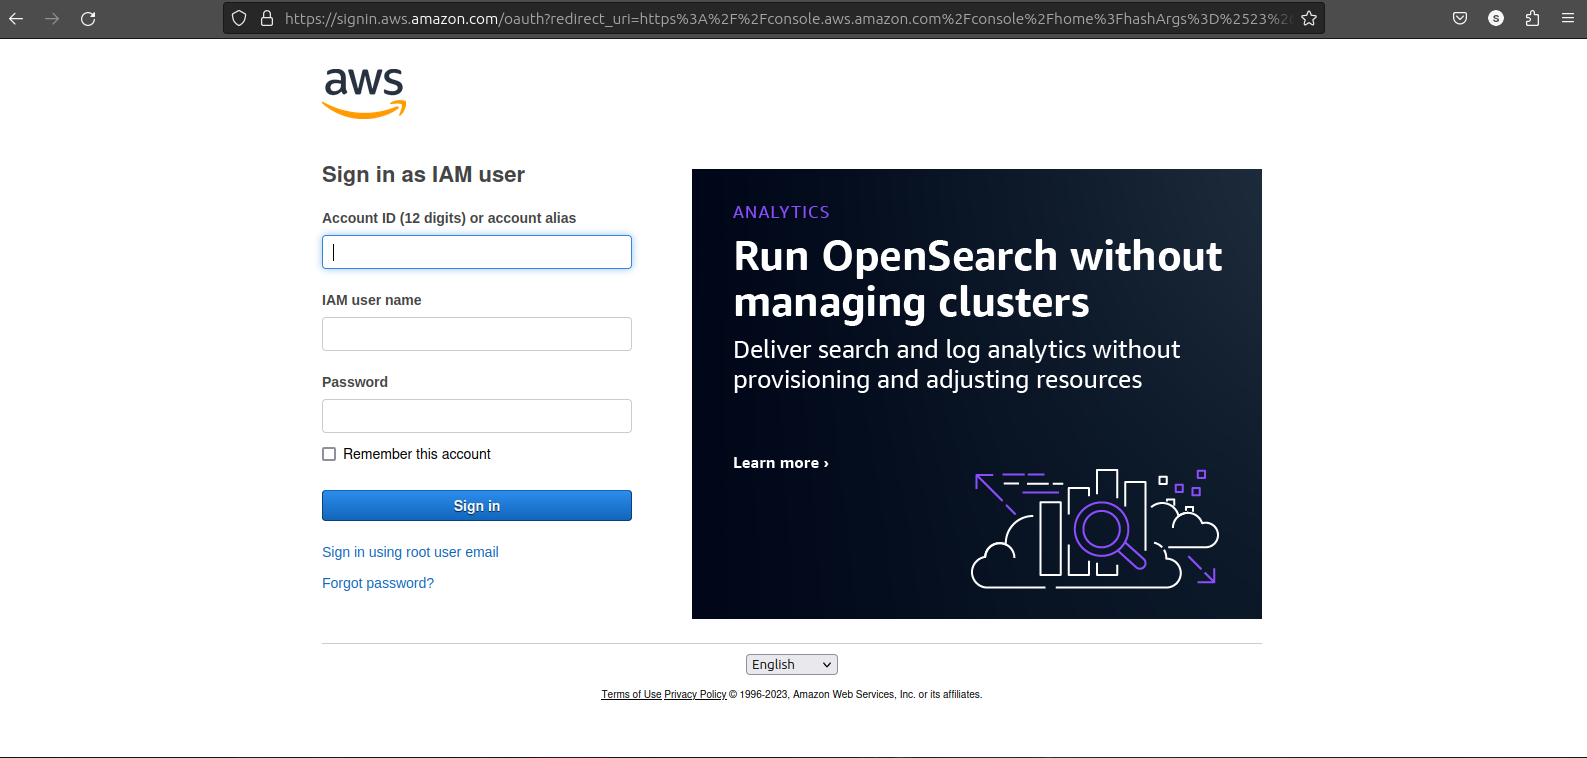
Sign in to AWS Console: Log in to your AWS account.
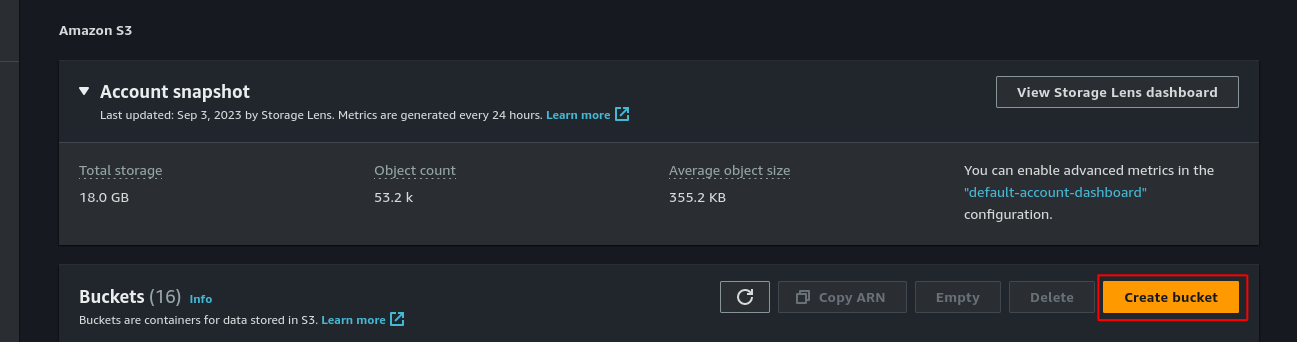
- Access S3 Service: Go to the AWS Management Console and navigate to the S3 service.Use the search bar on the top and type s3

- Create a Bucket: Click the “Create bucket” button and follow the prompts.
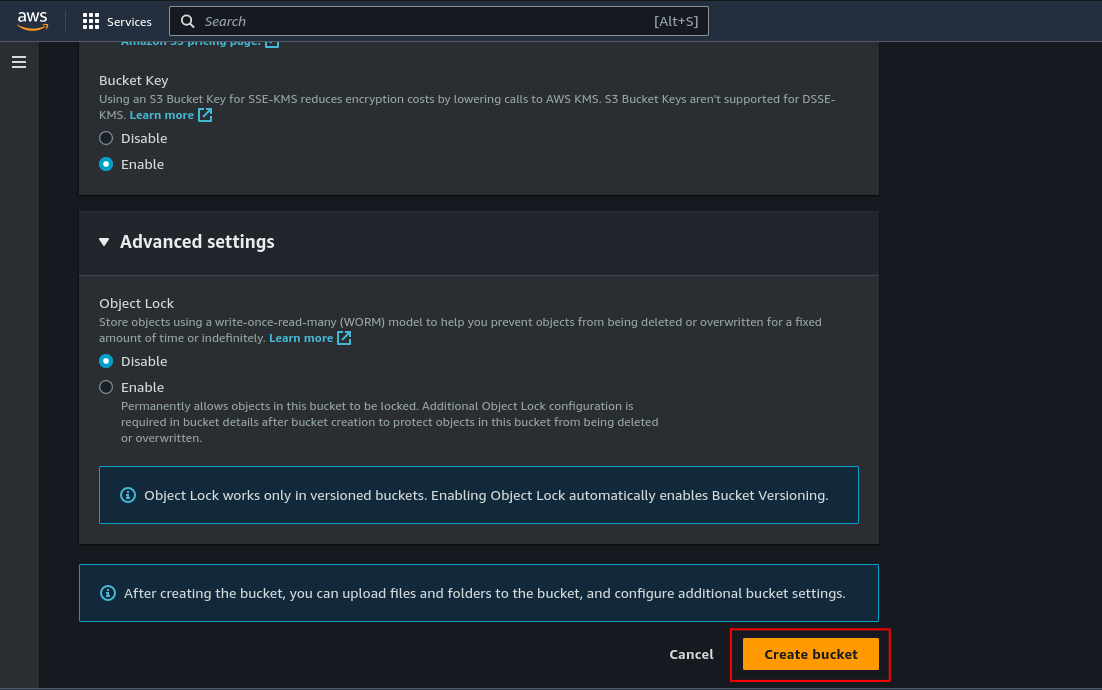
- Choose a unique name for your bucket.

- Navigate to the bottom of the page and, without making any further changes/adjustments, proceed to create the bucket by clicking the “Create bucket” button.
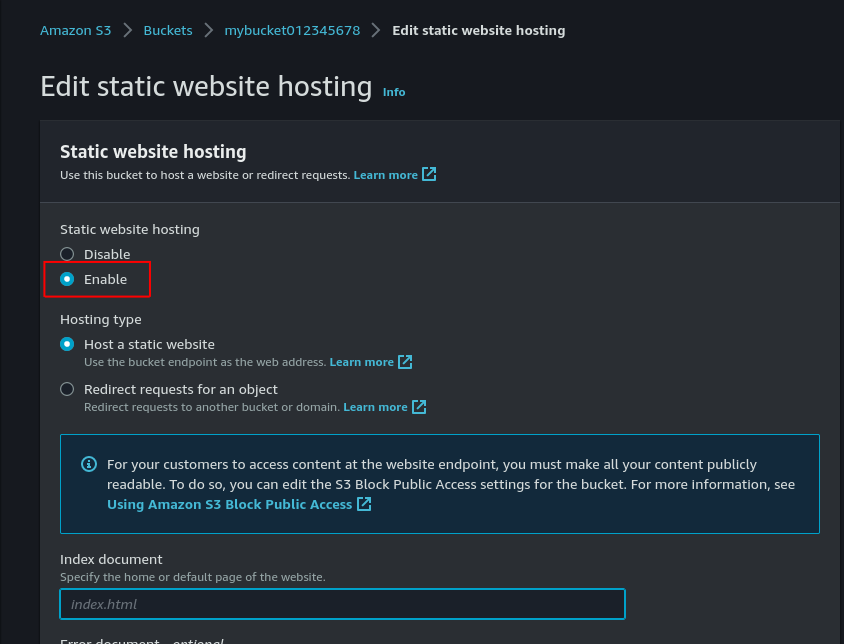
- Configure Bucket Properties: Once the bucket is created, click on its name to access its properties. Scroll down to the bottom and you will find the option “Static website hosting” Click on edit.
- In the “Static website hosting” section, enable static website hosting and specify the index document (e.g., “index.html”) and optional error document if needed and Click save changes.
Step 2: Upload Your Website Files
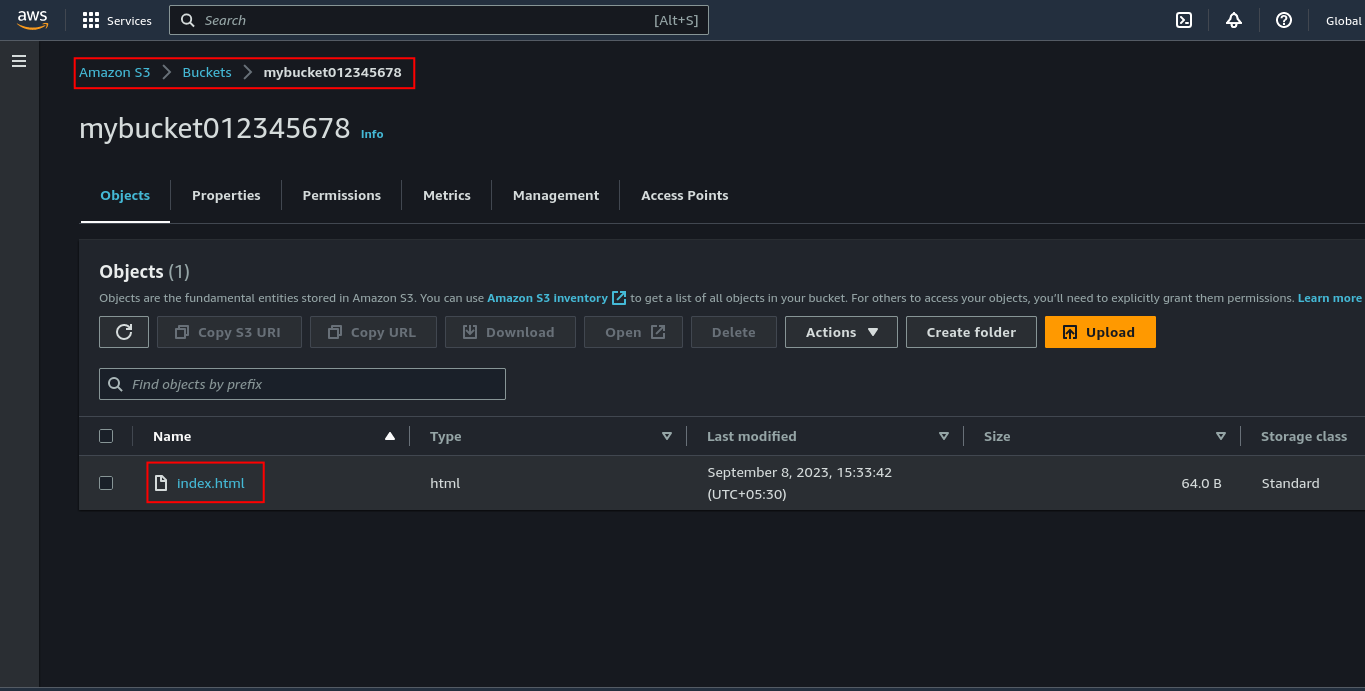
Upload Content: In your S3 bucket, click the “Upload” button to add your website’s HTML, CSS, JavaScript, and other files. Make sure that the index.html file is in the root directory of the S3 Bucket
- Set Permissions: Go to permissions tab and click ‘edit’ on Block public access (Bucket settings)
- Uncheck Block all public access and save changes.

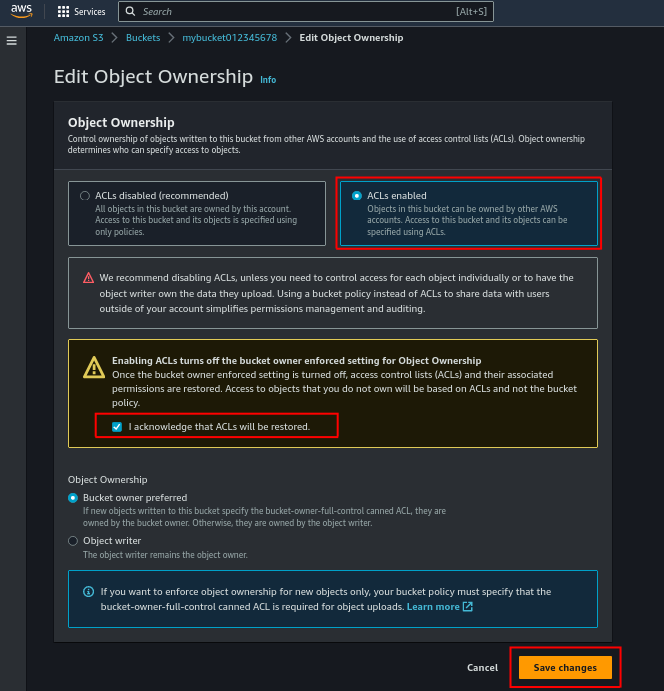
- And scroll down until you see ‘Object ownership’ option click edit.
- Check the option ACLs enabled and click on the Check box “I acknowledge that ACLs will be restored”
- And click save changes
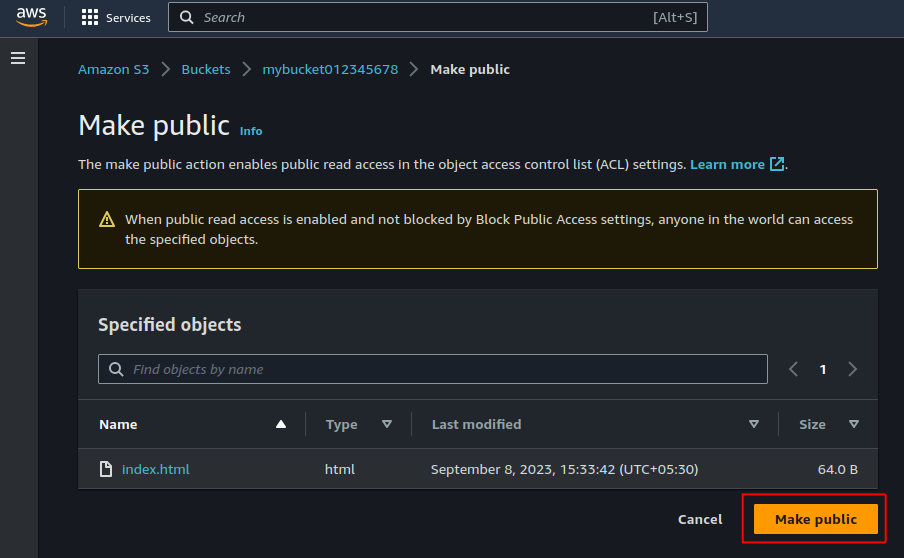
- Now go to the root of the s3 bucket, Select the uploaded files, click “Actions,” and then “Make public using ACL.” This ensures that the content is accessible over the internet.
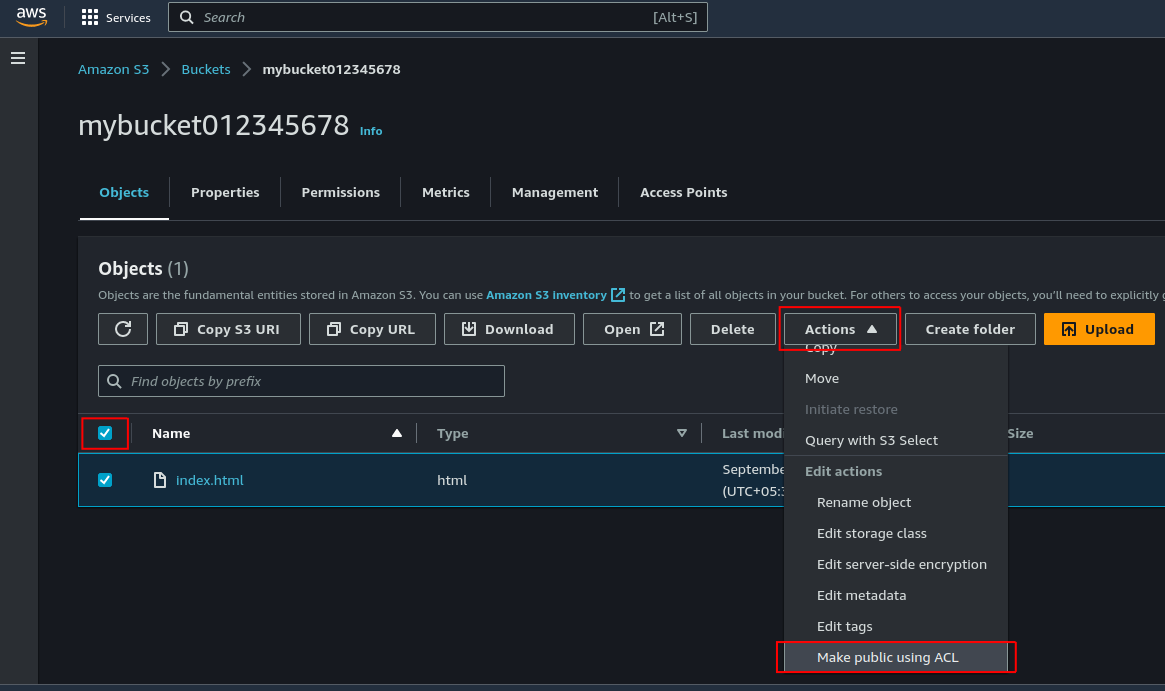
- A confirmation window will appear Click Make public
Step 3: Create a CloudFront Distribution
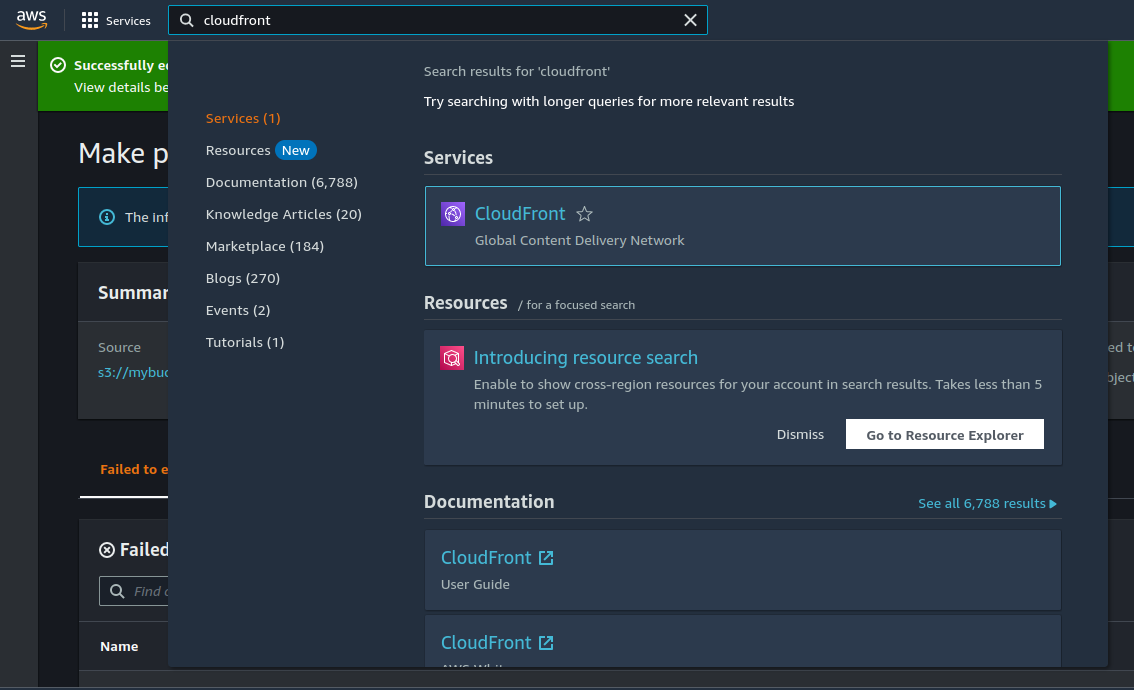
Access CloudFront: In the AWS Management Console, navigate to the CloudFront service.
- Create a Distribution: Click the “Create Distribution” button,
- Configure Distribution:
In the configuration wizard, set the following:
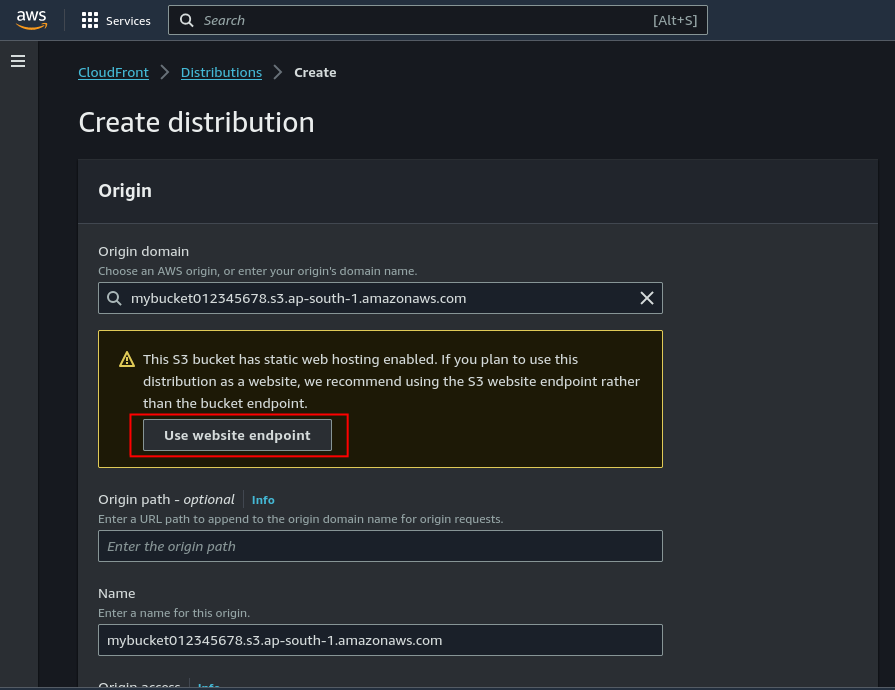
Origin Settings: Choose your S3 bucket as the origin.

- Once you choose the bucket, a pop-up will emerge, providing the “Use website endpoint option.” Please select this option.
- Default Cache Behavior Settings: Scroll down and you will find the cache key and origin requests. we can configure cache behaviors as per requirement. For static websites it is recommended to use a caching optimized option for static websites.
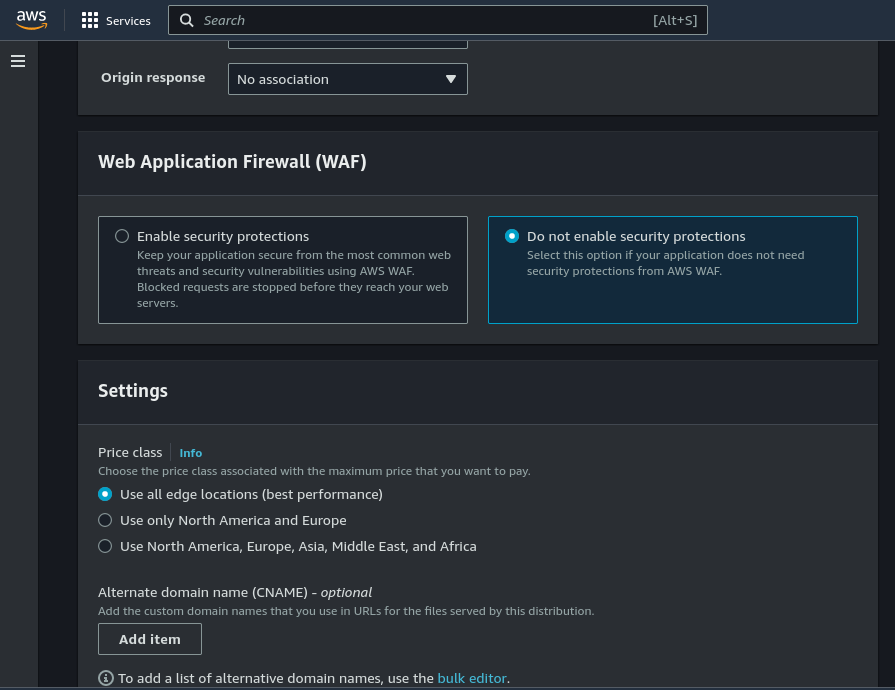
- Web Application Firewall (WAF): This service is used to protect the website against common types of attacks like DDOS. Ping of Death, vulnerability exploitation, etc..
- Click on do not enable security protection
Note : It comes with an associated cost. Given that this website is for testing purposes, we have the option to deactivate it.
Optional:
Distribution Settings: Specify your domain name and SSL certificate (if required).
Create Distribution: Scroll down to the bottom and Click “Create Distribution” to create your CloudFront distribution. It may take some time to deploy.
Step 4: Update DNS Records if you have domain (Optional)
If you have a custom domain, you can update your DNS records to point to your CloudFront distribution. This step is optional but recommended for a more professional look.
Step 5: Testing Your Website
Once your CloudFront distribution is deployed, you can access your static website using the CloudFront domain name or your custom domain if you’ve configured it.
Conclusion
In just a few steps, you’ve learned how to create and host your static website using AWS S3 and CloudFront. It’s a hassle-free and cost-effective way to get your website up and running. Now, you have the tools to share your content with the world, and it’s as easy as can be. Happy website building!