Reading Time: 4 mins.
Introduction
Docker, a powerful and flexible software supports cross-platform and execution on a Windows host, including Windows 10 (Pro or Enterprise) which in turn makes Windows 10, a perfect development environment for Docker use-cases. Here, we will be seeing how to install Docker version 19 in Windows 10 using the Community Edition (CE) since it is a free version. One such benefit of using this edition is that you can install it on your personal system to learn and build applications around it. However, knowledge of using Docker is crucial, if you need to build Cloud Native Microservices based applications.
Prerequisites
- Docker only supports: Windows 10 64-bit – Pro, Enterprise, or Education (Build 16299 or later).
- It is to remember that Docker needs Hyper-V enabled in Windows 10, if Hyper-V is not enabled then Docker will not run.
Need to know how to enable Hyper-V, visit the following link docs.microsoft.com/en-us/virtualization/hyper-v-on-windows/quick-start/enable-hyper-v. In case, if you use Windows Home, these guidelines will not be applicable.
Step 1: Downloading Docker:
You can install the Docker desktop using Github or official Docker site. Here, we will go with the official site https://docs.docker.com/docker-for-windows/install/
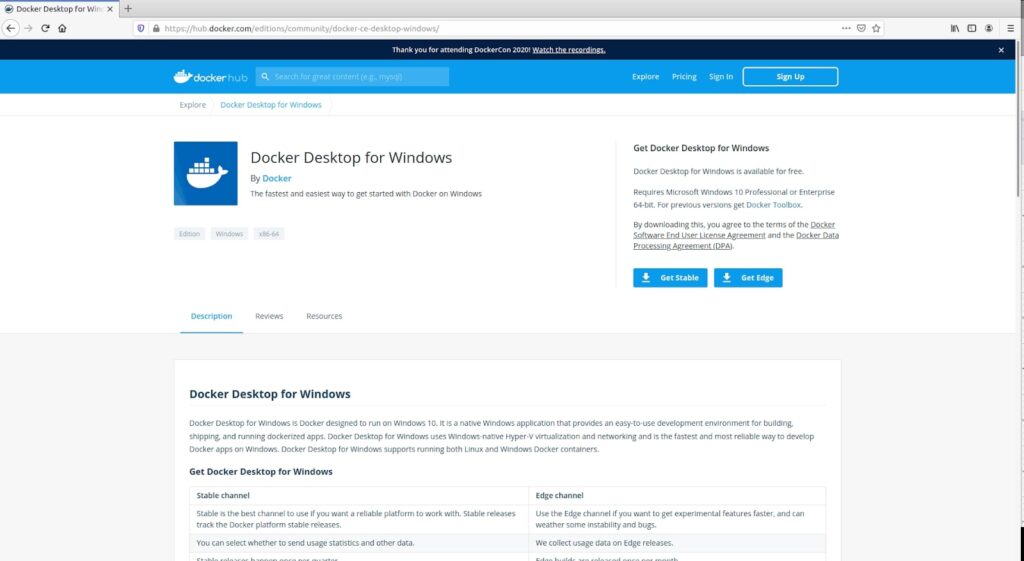
In case, if you want to install the stable version, then click Get Stable and similarly, If you want an Edge version, then you can click on Get Edge. Here we will go with the Stable Version.
Stable Channel: Stable is the best channel to use if you want a reliable platform to work with. You can select whether to send usage statistics and other data. Launched once every quarter, the stable releases help to track the Docker platform’s stable releases.
Edge Channel: Use the Edge channel if you want to get experimental features faster, and get away from bugs and instability. The Edge releases also collect the usage data.
Step 2: Installing Docker
Soon after downloading, locate the downloaded file or open the Downloads folder. Lets run the exec file of docker desktop application.
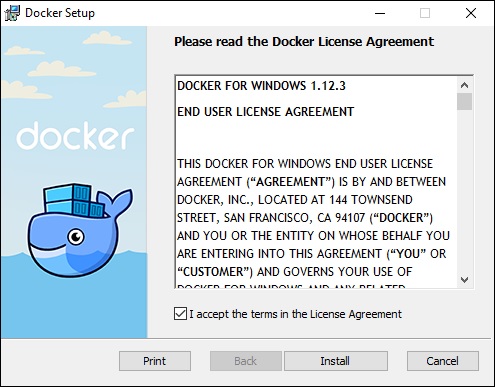
As a next step, it will download all the necessary files, and to your notice, if you’re not connected to the internet, this particular step will be skipped.
Step 3: Configuration
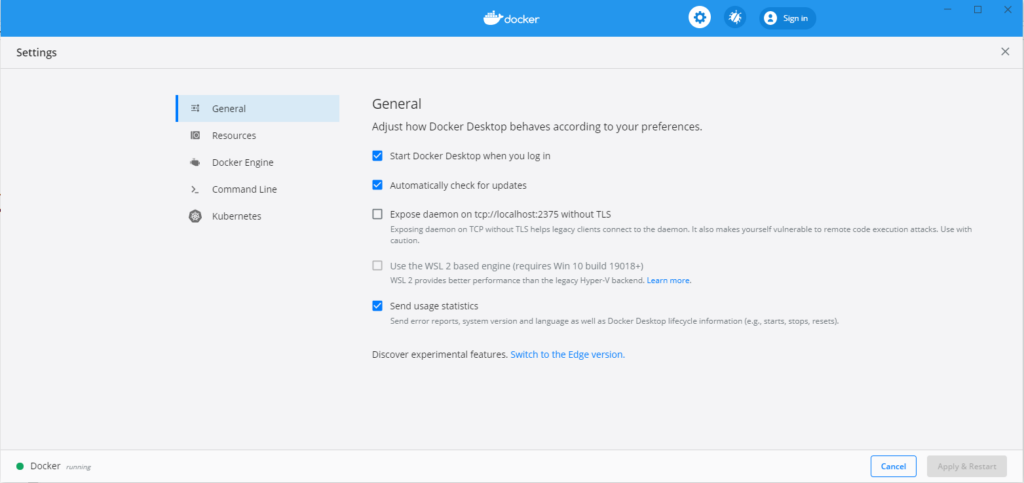
Post downloading the required files, it is time to proceed with the configuration part. As you can see in the below image, we have checked both the options in the dialog box, you can check/uncheck as per your requirements.
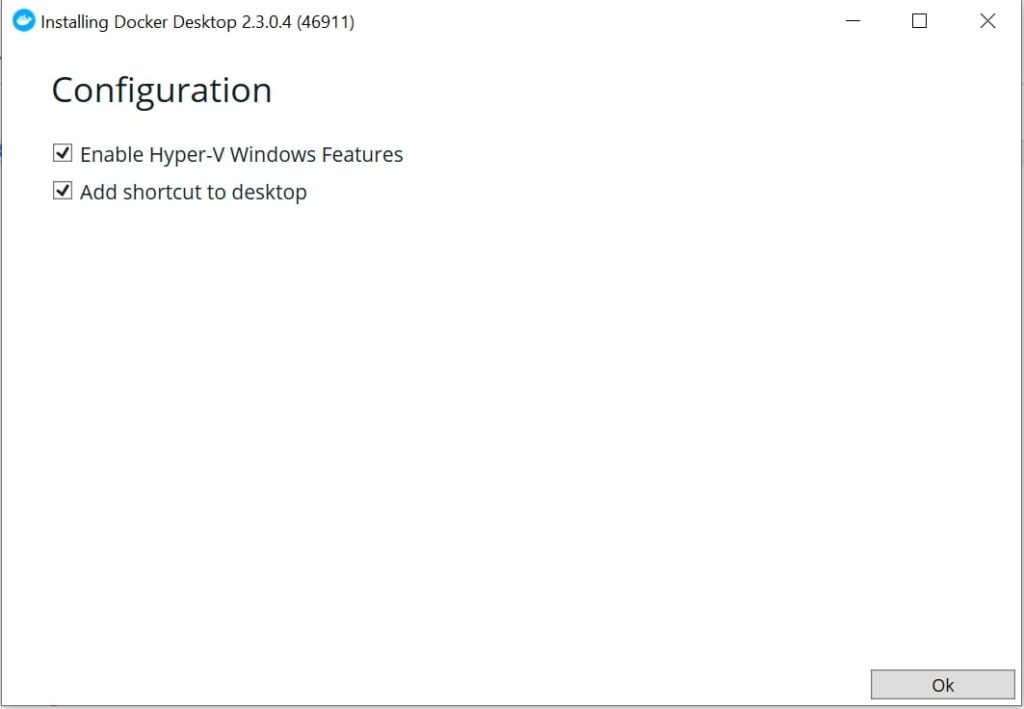
Note: Just to remember, if you have not enabled Hyper-V yet, you can enable it now.
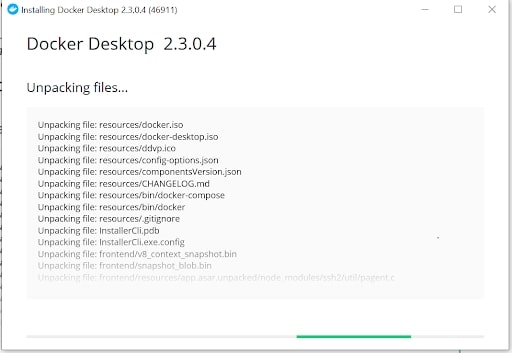
Now the Docker Hub will extract the packages which have been downloaded in the previous step, and wait till the installation completes.
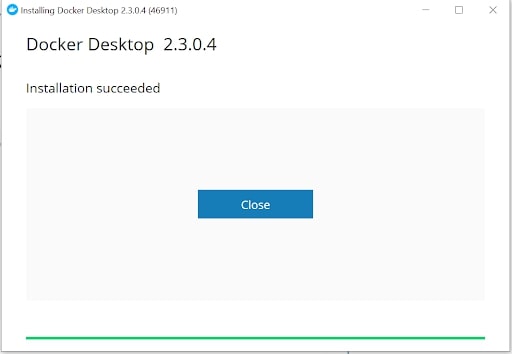
Next, close the installation wizard and restart the Docker desktop.
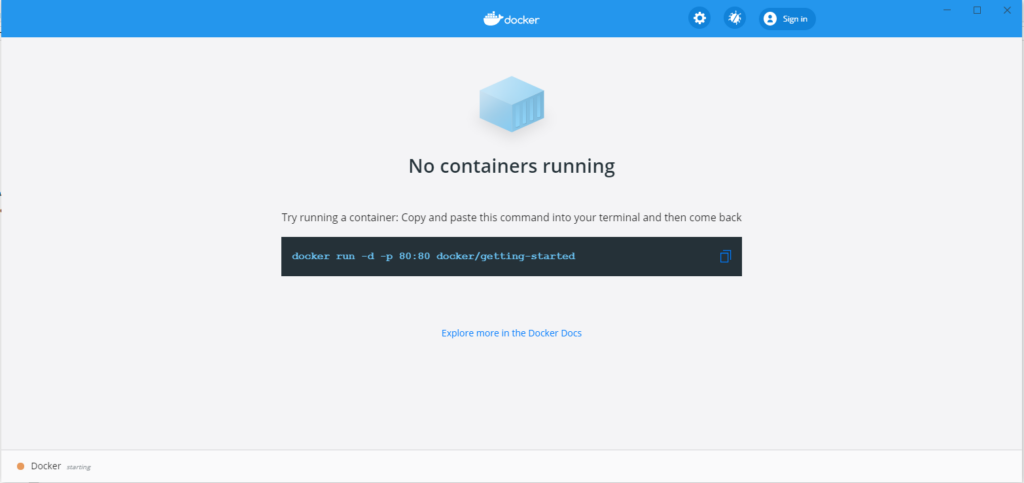
Step 4: Running the Docker Hub
Open the Docker Hub application. The below shown is the dashboard before you log in to the Docker desktop application.
Login using the Docker Hub credentials.
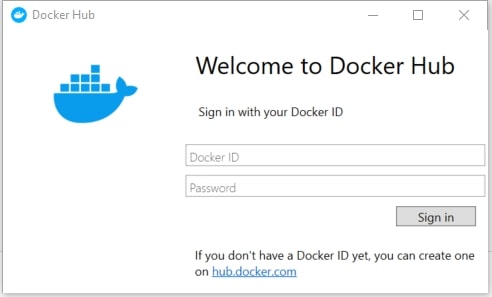
Note: if you don’t have the Docker Hub account, please find the following link for signup https://hub.docker.com/
By default, Docker will get started on system startup. If you don’t want to start Docker Hub on starting, do the following steps.
Step 5: Running simple Docker image
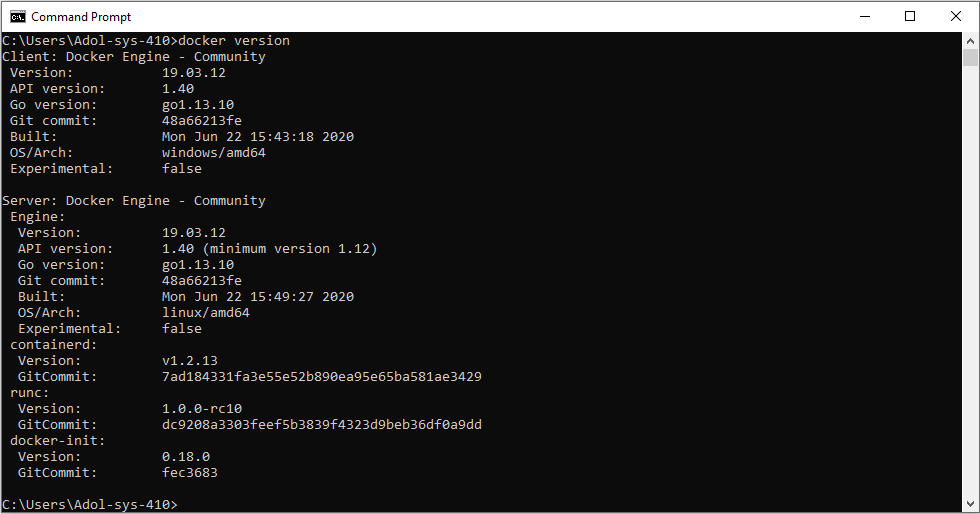
Check Docker version using the Windows command prompt.
Lets work with simple docker images
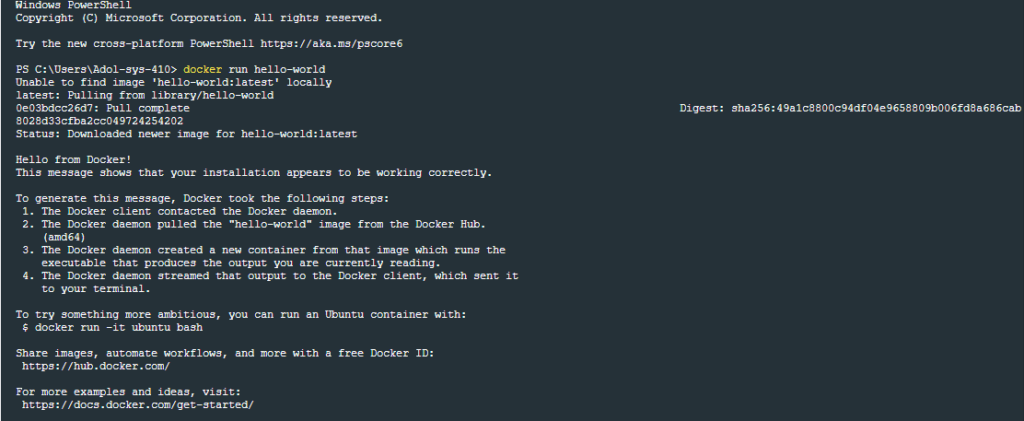
Download “hello world” image
Download “Nginx” image
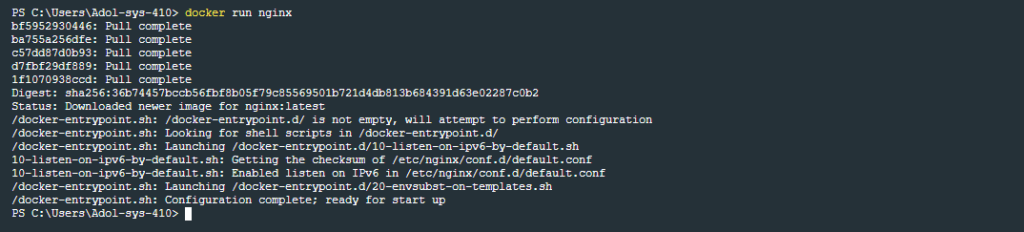
Note: If you don’t have the images, the Docker will pull it from the Docker Hub. If you already have the images in local, it directly starts running.
i) Checking Docker image and container status using cmd
To check the docker images using cmd, type:
Docker images -a
REPOSITORY TAG       IMAGE ID        CREATED        SIZE
nginx latest         08393e824c32    5 days ago     132MB
hello-world latest   bf756fb1ae65    7 months ago   13.3kB
To check the Docker container status using cmd, type:
Docker ps -a
CONTAINER ID IMAGE     COMMAND                CREATED         STATUS   PORTS           NAMES
c188db155d22 nginx  "/docker-entrypoint.…" 3 minutes ago Up 3 minutes   80/tcp        blissful_newton
787147ec6ce4 hello-world "/hello"         4 minutes ago Exited (0) 4 minutes    ago   recursing_margulis
Note: To know more about the Docker commands, visit Managing Docker Commands
ii) Checking Docker image and container status using Docker Hub
Let’s open the Docker desktop application
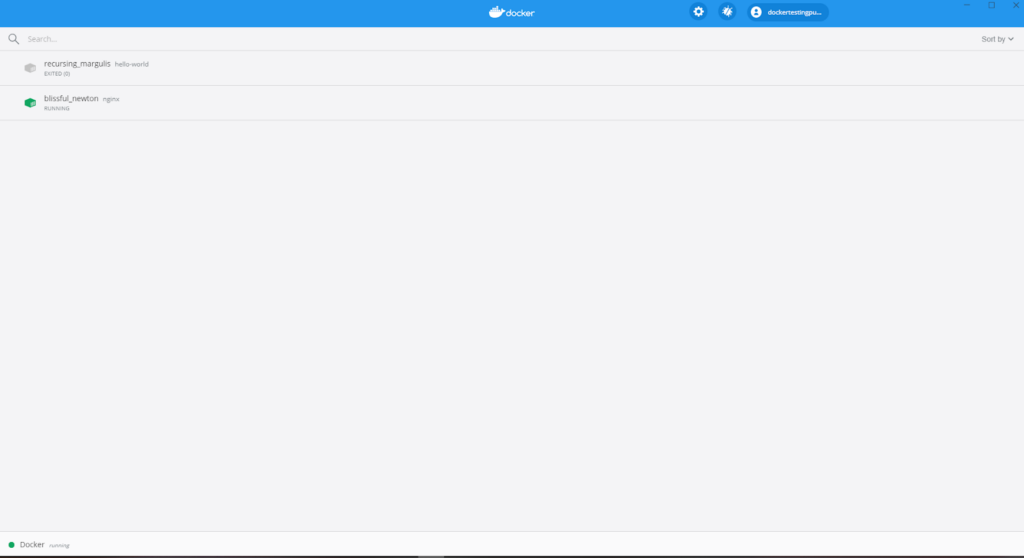
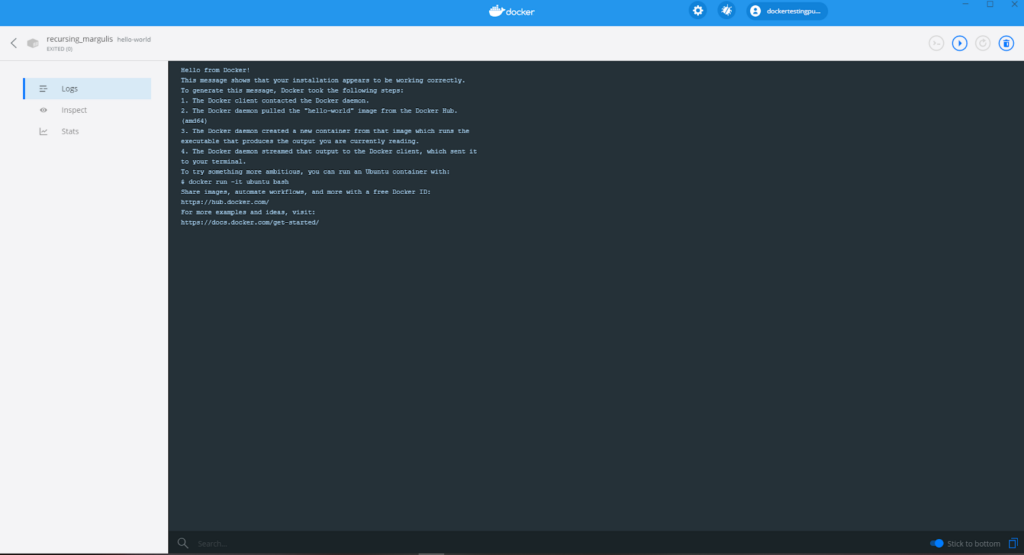
Let’s see the hello world image
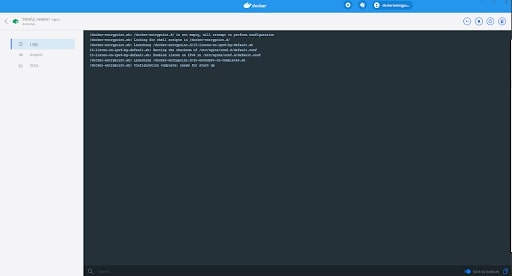
Let’s see the Nginx image
Step 6: Verification
To add domain to etc hosts, open the etc host file using the following command.
c:\Windows\System32\Drivers\etc\hosts
127.0.0.1 localhost
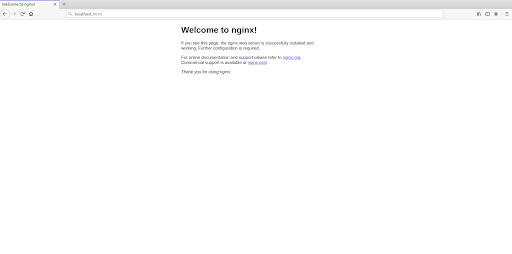
Default Nginx Welcome Page
Note: Make sure that you use either localhost ip address or container’s ip address.
Common Pitfalls:
- CPU – If your CPU does not support virtualization, or if you do not have a 64-bit CPU, you cannot run Docker locally.
- Operating System – If you do not run a 64-bit version of Windows 10 Pro, Enterprise, or Education; 1511 November update, Build 10586 or later, you cannot run Docker for Windows.
- RAM – Docker consumes more RAM. Using Docker on 8 GB RAM leads to performance issues. Though it still works and does not create any major problems on 8 GB RAM, 16 GB RAM is the ideal option to go with.
Note: You need at least 8 GB RAM minimum, if it is 16 GB will be more than sufficient (maximum).
Conclusion
The article started off with the guidelines to install Docker Toolbox and Docker Desktop for the latest versions of Windows took you through the steps of installing Docker on Windows 10. We come across fulfilling all the necessary Docker requirements, running the simple Docker image and checking both the docker image and container status using cmd and Docker Hub. Want to use Docker on Ubuntu, read our blog post on How to Install Docker on Ubuntu 18.04 As additional information, we also learnt the most common pitfalls to be avoided and thereby sticking with the best practices for optimum performance.