Step 4: Testing Nginx
Post the installation step, the Nginx service already starts running and to verify the status of its service, use the command:
sudo systemctl status nginx
Output
●  nginx.service – A high performance web server and a reverse proxy server
Loaded: loaded (/lib/systemd/system/nginx.service; enabled; vendor preset: enabled)
Active: active (running) since Mon 2016-04-18 16:14:00 EDT; 4min 2s ago
Main PID: 12857 (nginx)
CGroup: /system.slice/nginx.service
├─12857 nginx: master process /usr/sbin/nginx -g daemon on; master_process on
└─12858 nginx: worker process
Though the system has already started to run, you can confirm it by testing your accession in the Nginx landing page.
By using the below-shown command, you will able to see the IP address of your server:
ifconfig

Note: If you use the above command, you can see your IP address within the terminal itself. If not, you need to login into your web server and thereby, need to see your IP address.
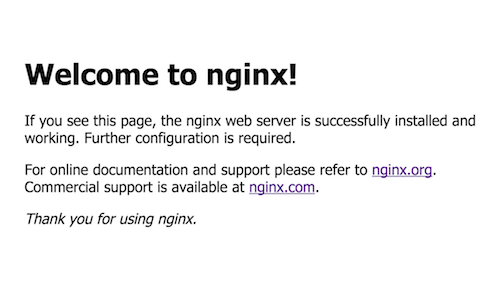
Thereby, you can verify the installed Nginx by pointing the chosen browser at your IP address.
http://ip_address or server_domain
Later, you will be directed to the default Nginx page as shown in the above image. To know how to set server blocks for Nginx, read our blog post on Setting Up Server Blocks for Nginx. Thus, you have successfully installed Nginx along with the firewall configuration on your system. Further, the Testing Nginx step verifies the successful running status of the Nginx service.