Reading Time: 5 mins
Overview
Apache, an open-source and most widely used web server across the world. Originally known as the “Apache HTTP Server”, is now widely known as ‘Apache’. It is a process-driven approach and which enables it to create new threads for each new request. Reputed for its security, stability and reliability, 67% of all the web-servers is run by using this server. Further, it provides cross-platform support and supports almost every language such as PHP, Perl, Python, etc.
Pre-conditions
- It is to be noted that the given instructions are applied to installing Apache server on Ubuntu 18.04.
- Presuming that you are logged in as a non-root user (in which sudo privileges is necessary).
Step 1: Updating the Default System Packages
Before installing the Apache server on your system, you need to update the default system packages to the newest version. To do so, run the following commands:
sudo apt-get update
sudo apt-get upgrade
Step 2: Installing Apache
Next, to install the Apache server on your Ubuntu system, use the command:
sudo apt-get install apache2
By this time, Apache has been successfully installed in your system.
Step 3: Configuring the Firewall
Adjusting the firewall is necessary to provide access for users to connect with the server. For this, you need to enable the firewall (as by default, it is set not to allow incoming traffic) using the command:
sudo ufw enable
To disable the firewall, use the command:
sudo ufw disable
To view the default ufw rules, use the command:
sudo ufw app list
You will be presented with the list of Apache’s application profiles.
Output
Status: active
To                         Action      From
--                         ------      ----
OpenSSH                    ALLOW       Anywhere
Apache Full                ALLOW       Anywhere
OpenSSH (v6)               ALLOW       Anywhere (v6)
Apache Full (v6)           ALLOW       Anywhere (v6)
To allow the configured profiles such as Apache Full and Apache HTTP use following commands:
sudo ufw allow ‘Apache’
Now, to verify the change, run the following command:
sudo ufw status
You should see the output like the below one,
Output
Status: active
To                         Action      From
--                         ------      ----
OpenSSH                    ALLOW       Anywhere
Apache Full                ALLOW       Anywhere
OpenSSH (v6)               ALLOW       Anywhere (v6)
Apache Full (v6)           ALLOW       Anywhere (v6)
STEP 4: Testing Apache
To verify whether the Apache server starts running and the status of its service, use the command:
sudo systemctl status apache2
Output
● apache2.service – The Apache HTTP Server
Loaded: loaded (/lib/systemd/system/apache2.service; enabled; vendor preset: enabled)
Drop-In: /lib/systemd/system/apache2.service.d
└─apache2-systemd.conf
Active: active (running) since Tue 2018-04-24 20:14:39 UTC; 9min ago
Main PID: 2583 (apache2)
Tasks: 55 (limit: 1153)
CGroup: /system.slice/apache2.service
├─2583 /usr/sbin/apache2 -k start
├─2585 /usr/sbin/apache2 -k start
└─2586 /usr/sbin/apache2 -k start
Though the output confirms the successful activation of the Apache server, another such proper way to confirm the fine-working of the Apache server is by requesting a page from the server. In order to verify your accession to the server’s landing page, you need your IP address.
To get your IP address within the terminal, type the below-shown command:
ifconfig
Note: The only other way to get your IP address is by logging into your web server.
Soon after you get your IP address, type it into your preferred browser.
http://ip_address or server_domain/
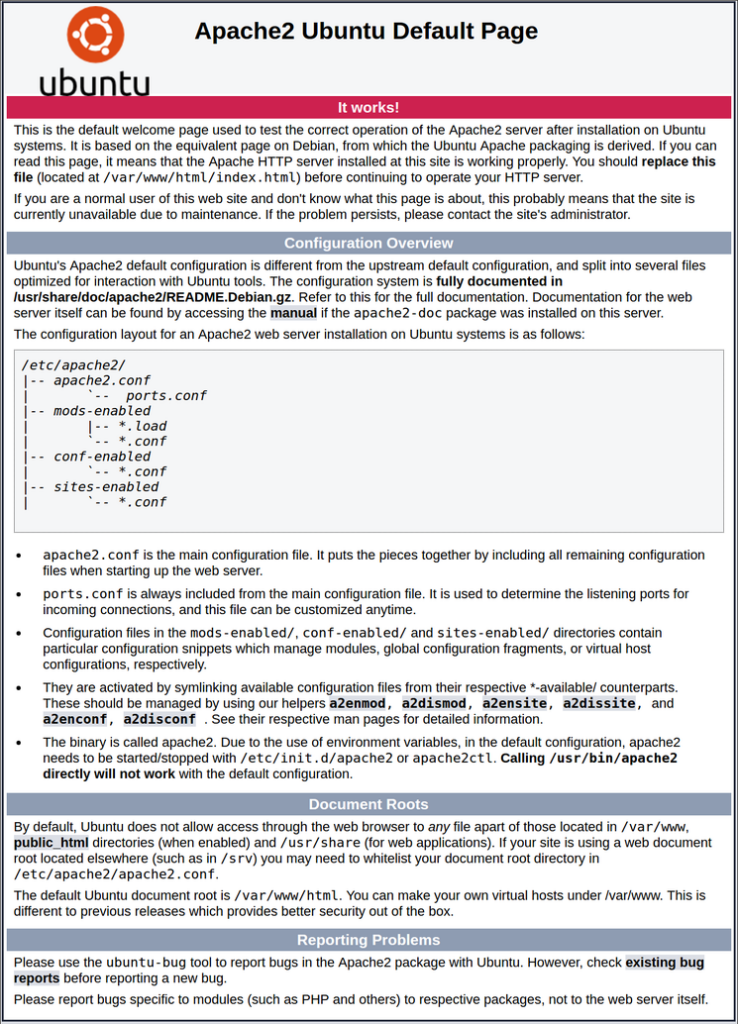
Post which, you will see the default Apache 18.04 web page for Ubuntu.
Step 5: Setting Up Virtual Hosts for Apache
a) Creating Server Blocks:
Much similar to the Server Blocks for Nginx is the Virtual Hosts for Apache. You can also host more than one website from the single server of Apache. For the sake of reference, we will use sample.com as a domain name and you can replace this domain name as per your preference. By default, Apache has an enabled server block at /var/www/html which is generally configured to server documents from out of the directory. Further, this comes in handy in serving only a single website.
In order to host multiple websites, you need to create a new directory structure within the /var/www/ for your sample.com and within each of these directories, a public-html will be created to store the domain files.
To create a directory for sample.com,
sudo mkdir /var/www/sample.com/
To assign the ownership of the directory to the current signed-in account using the $USER environment variable:
sudo chown -R $USER:$USER /var/www/sample.com/
Note: This helps to edit and manage the content right from the directory.
To assign the permissions of the web root directory, type
sudo chmod -R 755 /var/www/sample.com/
b) Adding Content for sample.com:
Now, to add the content in the website, create an index.html page for the sample.com
sudo nano /var/www/sample.com/public_html/index.html/
Let us try adding the sample content.
<html>
    <head>
        <title>Welcome to sample.com!</title>
    </head>
    <body>
        <h1>You have successfully added html content in the sample.com </h1>
    </body>
</html>
c) Creating Server Blocks
Though you have successfully created content, a server block is needed for the Apache server to serve the content. Create a new server block to host the sample.com site by leaving out the default block of the Apache server to be used as a template for basic configurations.
sudo nano /etc/apache2/sites-available/sample.com.conf
Note: It is important that every other configuration file with regard to your newly created site,
sample.com must be included within the .conf .
Copy it to the following configuration block (which looks similar to that of the default block but revised as per the created new directory and domain).
<VirtualHost *:80>
ServerAdmin webmaster@localhost
ServerName sample.com
ServerAlias www.sample.com
DocumentRoot /var/www/sample.com/public_html/
ErrorLog ${APACHE_LOG_DIR}/error.log
CustomLog ${APACHE_LOG_DIR}/access.log combined
</VirtualHost>
d) Enabling Server Block
Now, to enable the created configuration file, let us use the a2ensite tool.
sudo a2ensite sample.com.conf
Though now it is ok to activate the created file, you need to disable the default site first.
sudo a2dissite 000-default.conf
Next, you can restart the Apache service, using the command:
sudo systemctl restart apache2
e) Checking for Syntax Errors:
To check for configuration errors, use the command:
sudo apache2ctl configtest
You will see an output like this,
Output
Syntax OK
F) Testing Apache Service:
Now that we have configured the Apache server to serve your domain name (here, it is sample.com), the server has been already up and running.
To verify the status of the Apache service, type your server name in any one of your preferred browser running on your system.
The above image confirms that the Apache server works successfully.
Step 6: Managing the Apache Server
Now that you have your web server up and running, let’s get to know about some basic commands for managing the Apache service.
To stop your web server, use the command:
sudo systemctl stop apache2
To start your web server, use the command:
sudo systemctl start apache2
To restart your web server, use the command:
sudo systemctl restart apache2
To reload your web server, use the command:
sudo systemctl reload apache2
To disable your web server, use the command:
sudo systemctl disable apache2
To enable your web server, use the command:
sudo systemctl enable apache2
You have been successfully configured the Apache server to host your site by creating a server block. Likewise, you can create any number of server blocks using a similar procedure for the domains you desire to host. Thus, this is all about installing, configuring and creating server blocks for the Apache server on Ubuntu 18.04 system. Further, the Testing Apache and Testing Apache Service steps verify the successful running status of the Apache server on your system.