Reading time: 4 mins.
Introduction
Magento 2 is the latest major release of Magento, an open-source and popular e-commerce platform that offers flexible and scalable shopping carts. According to W3Techs’ statistics, “Magento is used by 1.2% of all the websites whose content management system we know. This is 0.7% of all websites.” Without a doubt, the e-commerce industries thrive to continuously grow at a significant pace and a platform like Magento specifically designed to expand e-commerce opportunities is no different. User experience is what plays a pivotal role in shaping the growth of an e-commerce website.
One such technology introduced to deliver high-quality user experience is the Elasticsearch in ELK stack. As a whole, the ELK stack enables the users to search, analyze and visualize data in real-time. It works by offering centralized logging to find all your logs (data) from any source, any format at a single place. Want to install Magento 2.xx on your system? Visit our blog post on All about Magento Installation Process
Prerequisites
- Installed Elasticsearch, haven’t installed Elasticsearch on your system yet? Visit How to Install and Configure Elasticsearch on Ubuntu 20.04
- Installed Java, to do now, visit Installing and Checking Java
- Should have logged in with sudo (non-root user) privileges.
Why do we go with Elasticsearch for Magento?
Elasticsearch is an open-source product that allows scalable search and analytics. Known for its speed, scalability, distributed nature and simple REST APIs, it searches and visualizes data in real-time. Elasticsearch, capable of fetching data from any format and any source was first released in 2010 by Elasticsearch N.V. (now known as Elastic). It is the best go-to option for the top-most enterprises like Netflix, Microsoft, Slack, Uber, etc.
In all other Magento 2.x.x versions, it’s possible to use MySQL as a catalog search engine but in version 2.4, you cannot use MySQL as a search engine. Due to the fact that MySQL has been removed from the Magento 2.4 catalog search engine, you have to use Elasticsearch as the catalog search engine. Based on your preferences and the Magento version, you can either use MySQL or Elasticsearch as Magento 2 catalog search engine. As the next step, let’s proceed forward with the configuration of Elasticsearch. This can be achieved in two ways. They are
- After the installation of Magento
- During the installation of Magento (a recommended way for Magento 2.4)
Configuring Elasticsearch after Magento installation:
In Magento 2.x.x versions, who are all using the CLI method for Magento installation can configure Elasticsearch during the installation of Magento. At the same time, for those who’re all using web-based installation, they can’t configure Elasticsearch while installing Magento. Therefore, we can configure Elasticsearch only after the Magento installation. Let’s start configuring it.
As mentioned before, make sure that you have already installed Elasticsearch on your system.
To confirm the installation of Elasticsearch, let’s check the status of Elasticsearch using the following command.
sudo curl -XGET 'http://localhost:9200'
Output
{
"name" : "adoldev-HP-EliteBook-840-G2",
"cluster_name" : "elasticsearch",
"cluster_uuid" : "BOeHk29-Q2Gi5UbC-982JQ",
"version" : {
"number" : "7.9.0",
"build_flavor" : "default",
"build_type" : "deb",
"build_hash" : "a479a2a7fce0389512d6a9361301708b92dff667",
"build_date" : "2020-08-11T21:36:48.204330Z",
"build_snapshot" : false,
"lucene_version" : "8.6.0",
"minimum_wire_compatibility_version" : "6.8.0",
"minimum_index_compatibility_version" : "6.0.0-beta1"
},
"tagline" : "You Know, for Search"
}
Now that you have verified the installation of the Elasticsearch, navigate to the Magento backend and log into your admin account.
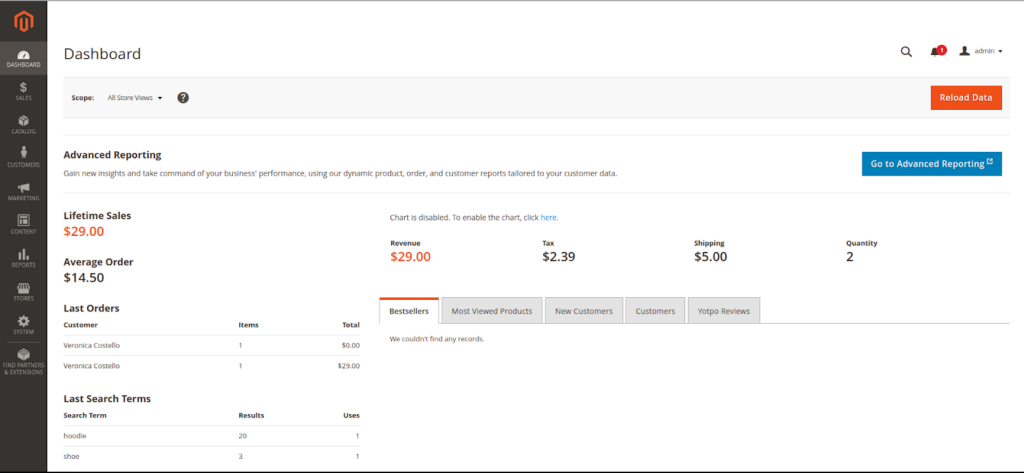
On your dashboard, go to Stores -> Configuration

In the Configuration page, click CATALOG -> Catalog
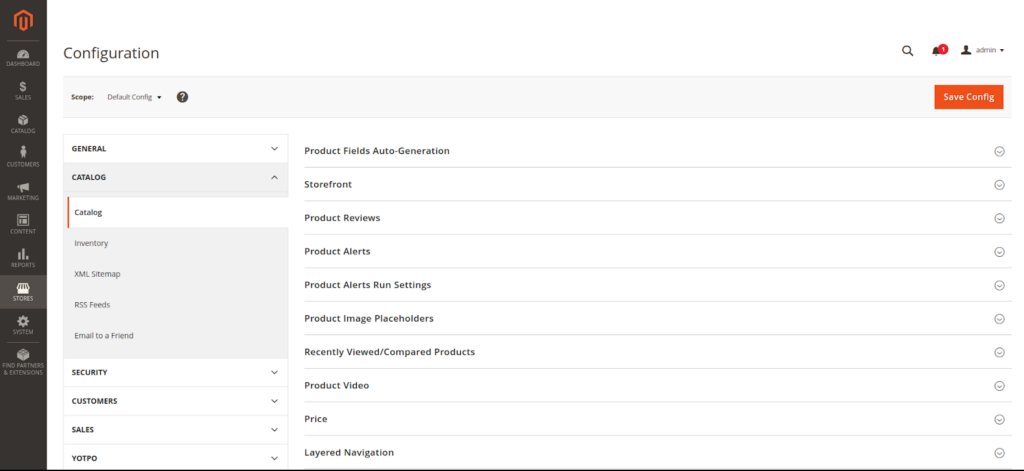
From Catalog, find the search engine section and choose the concerned Elasticsearch version which you have installed on your system.
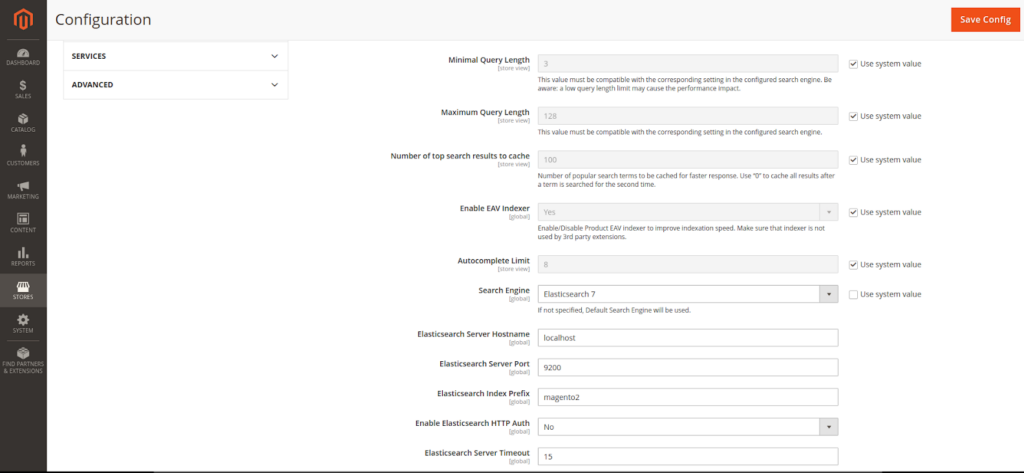
Also, you can test the Elastic Server connection using the test connection as shown in the below screenshot.

In case, if you got the following error, make sure that the Elasticsearch service is active and running.
![]()
To check the Elasticsearch service, type the following:
netstat -an | grep 9200
Output
tcp6 0 0 127.0.0.1:9200 :::* LISTEN
After enabling Elasticsearch, we have two more steps to carry out. At first, we have to clear the cache and secondly, we have to reindex the products. Both of these things can be achieved either using Magento backend and CLI.
If you want to do it using CLI, use the following commands:
sudo php bin/magento cache:flush
sudo php bin/magento cache:clean
sudo php bin/magento indexer:reindex
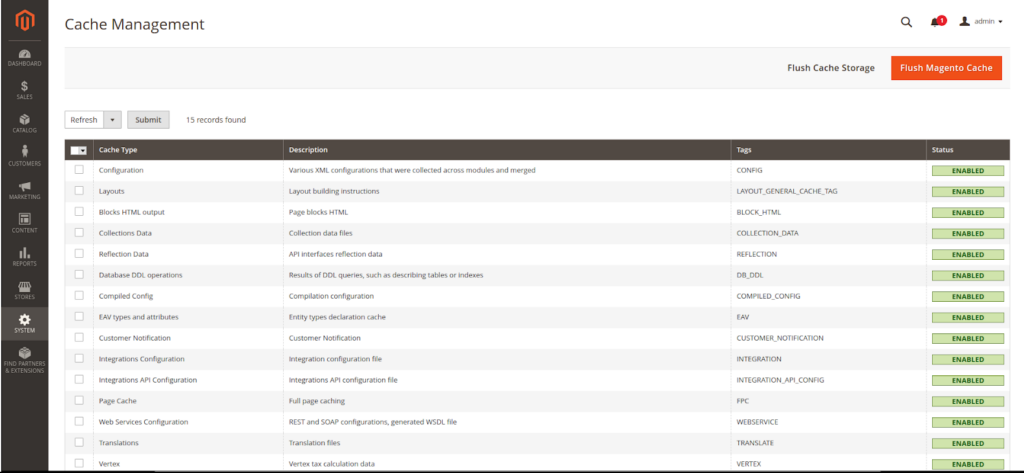
Or if you want to do via an interface (using Magento backend), follow the below two steps.
i) To clear cache, from dashboard navigate to System -> Cache Management
ii) Now to reindex the products, again from the dashboard, go to System -> Index Management

Note: The above configuration of Elasticsearch is applicable for all the Magento 2.x.x. Find the search engine section and choose the required Elasticsearch version which you have installed on your system and make sure to enable it in the Magento backend.
Recommended Way for Configuring Elasticsearch during Installation of Magento 2.4
You can use the following CLI command for Magento 2.4 installation and make sure you have updated the necessary details as per your requirement. To know more about the system requirements, visit: https://devdocs.magento.com/guides/v2.4/install-gde/system-requirements-tech.html
Installing Magento using CLI with Elasticsearch configuration
Let’s configure Elasticsearch while we install Magento using the below command:
php bin/magento setup:install --base-url=http://mage-test.com/ \
--db-host=localhost --db-name=mage-demo --db-user=mage-demo --db-password=12345 \
--admin-firstname=ad --admin-lastname=min --admin-email=user@example.com \
--admin-user=admin --admin-password=admin123 --language=en_US \
--currency=USD --timezone=America/Chicago --use-rewrites=1 \
--search-engine=elasticsearch7 --elasticsearch-host=localhost \
--elasticsearch-port=9200
Note:
- Even though you do not configure Elasticsearch, Magento will automatically choose Elasticsearch Engine as its catalog search engine but to ensure a fine-working of Elasticsearch, we have to install the Elasticsearch on system-level, followed by the configuration of the search counts, recommendations, etc. in the Magento backend.
- To know more about Magento 2.4 installation, read the article on How to Install Magento 2.4 with Elasticsearch on Ubuntu 20.04
Conclusion:
This article walked you through the procedures involved in the Elasticsearch configuration both during the installation of Magento and post the Magento installation. According to your preferences and requirements, you can proceed with either one of the Elasticsearch configuration methods but at the same time, remember the limitations. Similarly, you can choose between MySQL and Elasticsearch as the catalog search engine for all the Magento 2.x.x versions except for the 2.4 version. The ultimate goal is to provide a better user experience and high-quality performance.