Reading Time: 8 mins
What is Terraform?
Terraform is a free and open-source infrastructure as a code software developed to describe and provision a data centre infrastructure. To do so, it uses the HashiCorp authored high-level configuration language called HCL and supports the JSON language too. It manages and provisions (such as to build, modify and improve) any infrastructure and cloud providers such as AWS, GCP, DigitalOcean, etc. Like terraform, the other such configuration management tools include Chef, Puppet, CloudFormation, Saltstack, Ansible and so forth.
What it’s used for?
Being an infrastructure as a code software tool, it helps you to stay ahead when it comes to version control of your infrastructure, ensures multiple accessibilities to its back-end. Terraform helps to make the required API calls via terraform apply command to deploy the validated changes at once. In this way, it eliminates the time-consuming task of manually updating the infrastructure and server.
Thus, the key features of Terraform include,
- Speed and reduces manual-work (as it can be automated)
- Perks of version control and provisioning
- Infrastructure can be shared and re-used
- Ease of validation
- Benefit of resource graph and
- Insights of dependencies
How does it work?
It works by taking hints from the configuration file with regard to the necessary components required to run an application or data centre. Post which, it comes up with an execution plan to reach the expected state and eventually starts to build the desired infrastructure. Further, it can detect the carried out changes and implement suitable incremental plans.
Written in the Go language, it compiles down to a single binary, and by using this binary, you can deploy the infrastructure from a laptop, computer and remote server too. Though Terraform also supports JSON-compatible, it is recommended to go with the Go language itself.
Basic Terraform Commands:
Terraform Init
It is the first command to be used for initializing purpose of the working directory which contains the Terraform configuration files.
terraform init [options] [DIR]
Terraform Validate
This one is used to validate the Terraform configuration files in terms of syntax correctness including attribute names and value types.
terraform validate [options] [dir]
Terraform Plan
The Terraform Plan command is run to build an execution plan and thereby, to verify whether the plan works to reach the desired outcome.
terraform plan [options] [dir]
Terraform Apply
It is this command, Terraform Apply is used to implement (save or apply) the changes which are set by using the Terraform Execution Plan.
terraform apply [options] [dir-or-plan]
Terraform Show
By using this command, one can inspect the outcome and running status of the file so as to ensure the fine-workings of the planning operations as expected.
terraform show [options] [path]
Terraform Destroy
Upon applying this command, Terraform Destroy, the Terraform-managed infrastructure will get deleted.
terraform destroy [options] [dir]
Note: Here, we are going to use DigitalOcean as our cloud provider.
Pre-conditions:
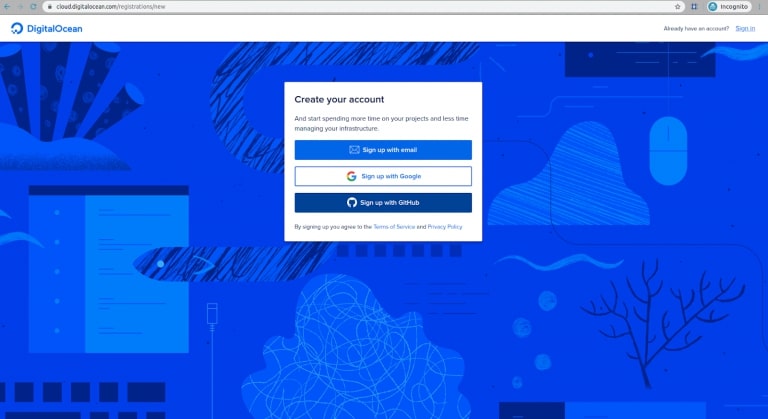
Creating a DigitalOcean account
Make sure you have the DigitalOcean account if not, you can create one by visiting this link,
https://cloud.digitalocean.com/registrations/new
Generating DigitalOcean personal access token
You need a personal access token to establish a connection and create droplets over remote execution. In order to generate a personal access token, use your API option located in DigitalOcean dashboard, which in turn takes you to the Applications & API page. In the Personal Access Tokens section, tap Generate New Token.
A new personal access token window will be opened as shown in the below image.
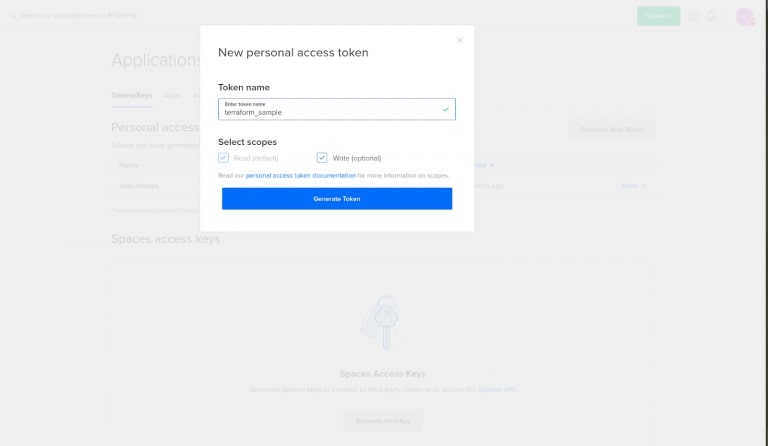
Fill the above-given fields as follows,
Token name: Set a name for your token.
Select scopes: To create whether with read-scope (list and retrieve information) or write-scope (create, modify and delete).
Once you complete filling the fields, a token will be generated upon tapping the Generate Token button. You can view your generated token on the Personal Access Token’s page with the long string of letters and numbers.
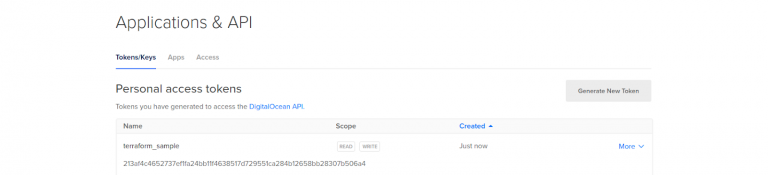
Note: Don’t forget to note down your personal access token as it will be shown only once.
Export your DigitalOcean Personal Access Token, using the below command.
export DO_PAT={YOUR_PERSONAL_ACCESS_TOKEN}
Now, the Terraform will authenticate the DigitalOcean API using this token. Don’t share it with any other parties as Terraform will be controlling your account using this token.
Creating password-less SSH key
The following steps help you to add a password-less SSH key to your DigitalOcean account, in case if you haven’t done it follow the below steps.
Step: 1
Open your terminal and give the following command,
ssh-keygen
Post which, you should see the following output,
Output
Generating public/private rsa key pair.
Enter file in which to save the key (/home/.ssh/id_rsa):
if you want to store it in a separate folder, save using an alternate path.
Output
Enter passphrase (empty for no passphrase):
Note: Make sure you create the SSH key pair without using phasparase.
Output
The key fingerprint is:
SHA256:9HuVbkOWEVNDSdUWuapzUdMUwkhRVom5BwgyuYaPpVE root@TECH-SYS-501
The key's randomart image is:
+---[RSA 2048]----+
|       o..oo*+OO@|
|       Eo o.=.*=|
|      o o +oo|
|     o = .   . O.|
|      B S . X .|
|     o . . B   |
|          . o = |
|           + o . |
|            o |
+----[SHA256]-----+
After creating the password less keypair, add the public key to your DigitalOcean account. To do so,
Go to your DigitalOcean account>>Security >>Add SSH Key.
After adding the public key into your DigitalOcean account, use the below command to get a simple fingerprint of your public key as it is impossible to access the public key in its encrypted and larger form.
ssh-keygen -E md5 -lf ~/.ssh/id_rsa.pub | awk '{print $2}'
Note: Make sure you are in the correct directory where we created the SSH key pair.
This will output something like the following:
MD5:89:ff:cb:c1:20:97:f8:fe:68:77:72:ce:fe:2a:cf:b7
While running Terraform, you need to provide this fingerprint (values) by leaving out the prefix, MD5.
terraform plan \
  -var "do_token=${DO_PAT}" \
  -var "pub_key=$HOME/.ssh/id_rsa.pub" \
  -var "pvt_key=$HOME/.ssh/id_rsa" \
  -var "ssh_fingerprint=”89:ff:cb:c1:20:97:f8:fe:68:77:72:ce:fe:2a:cf:b7"
As we have dealt about all the pre-conditions, let us proceed
with installing Terraform.